RV Touring Tips
Are you ready for your first trip of the year?
By Garth W. Cane
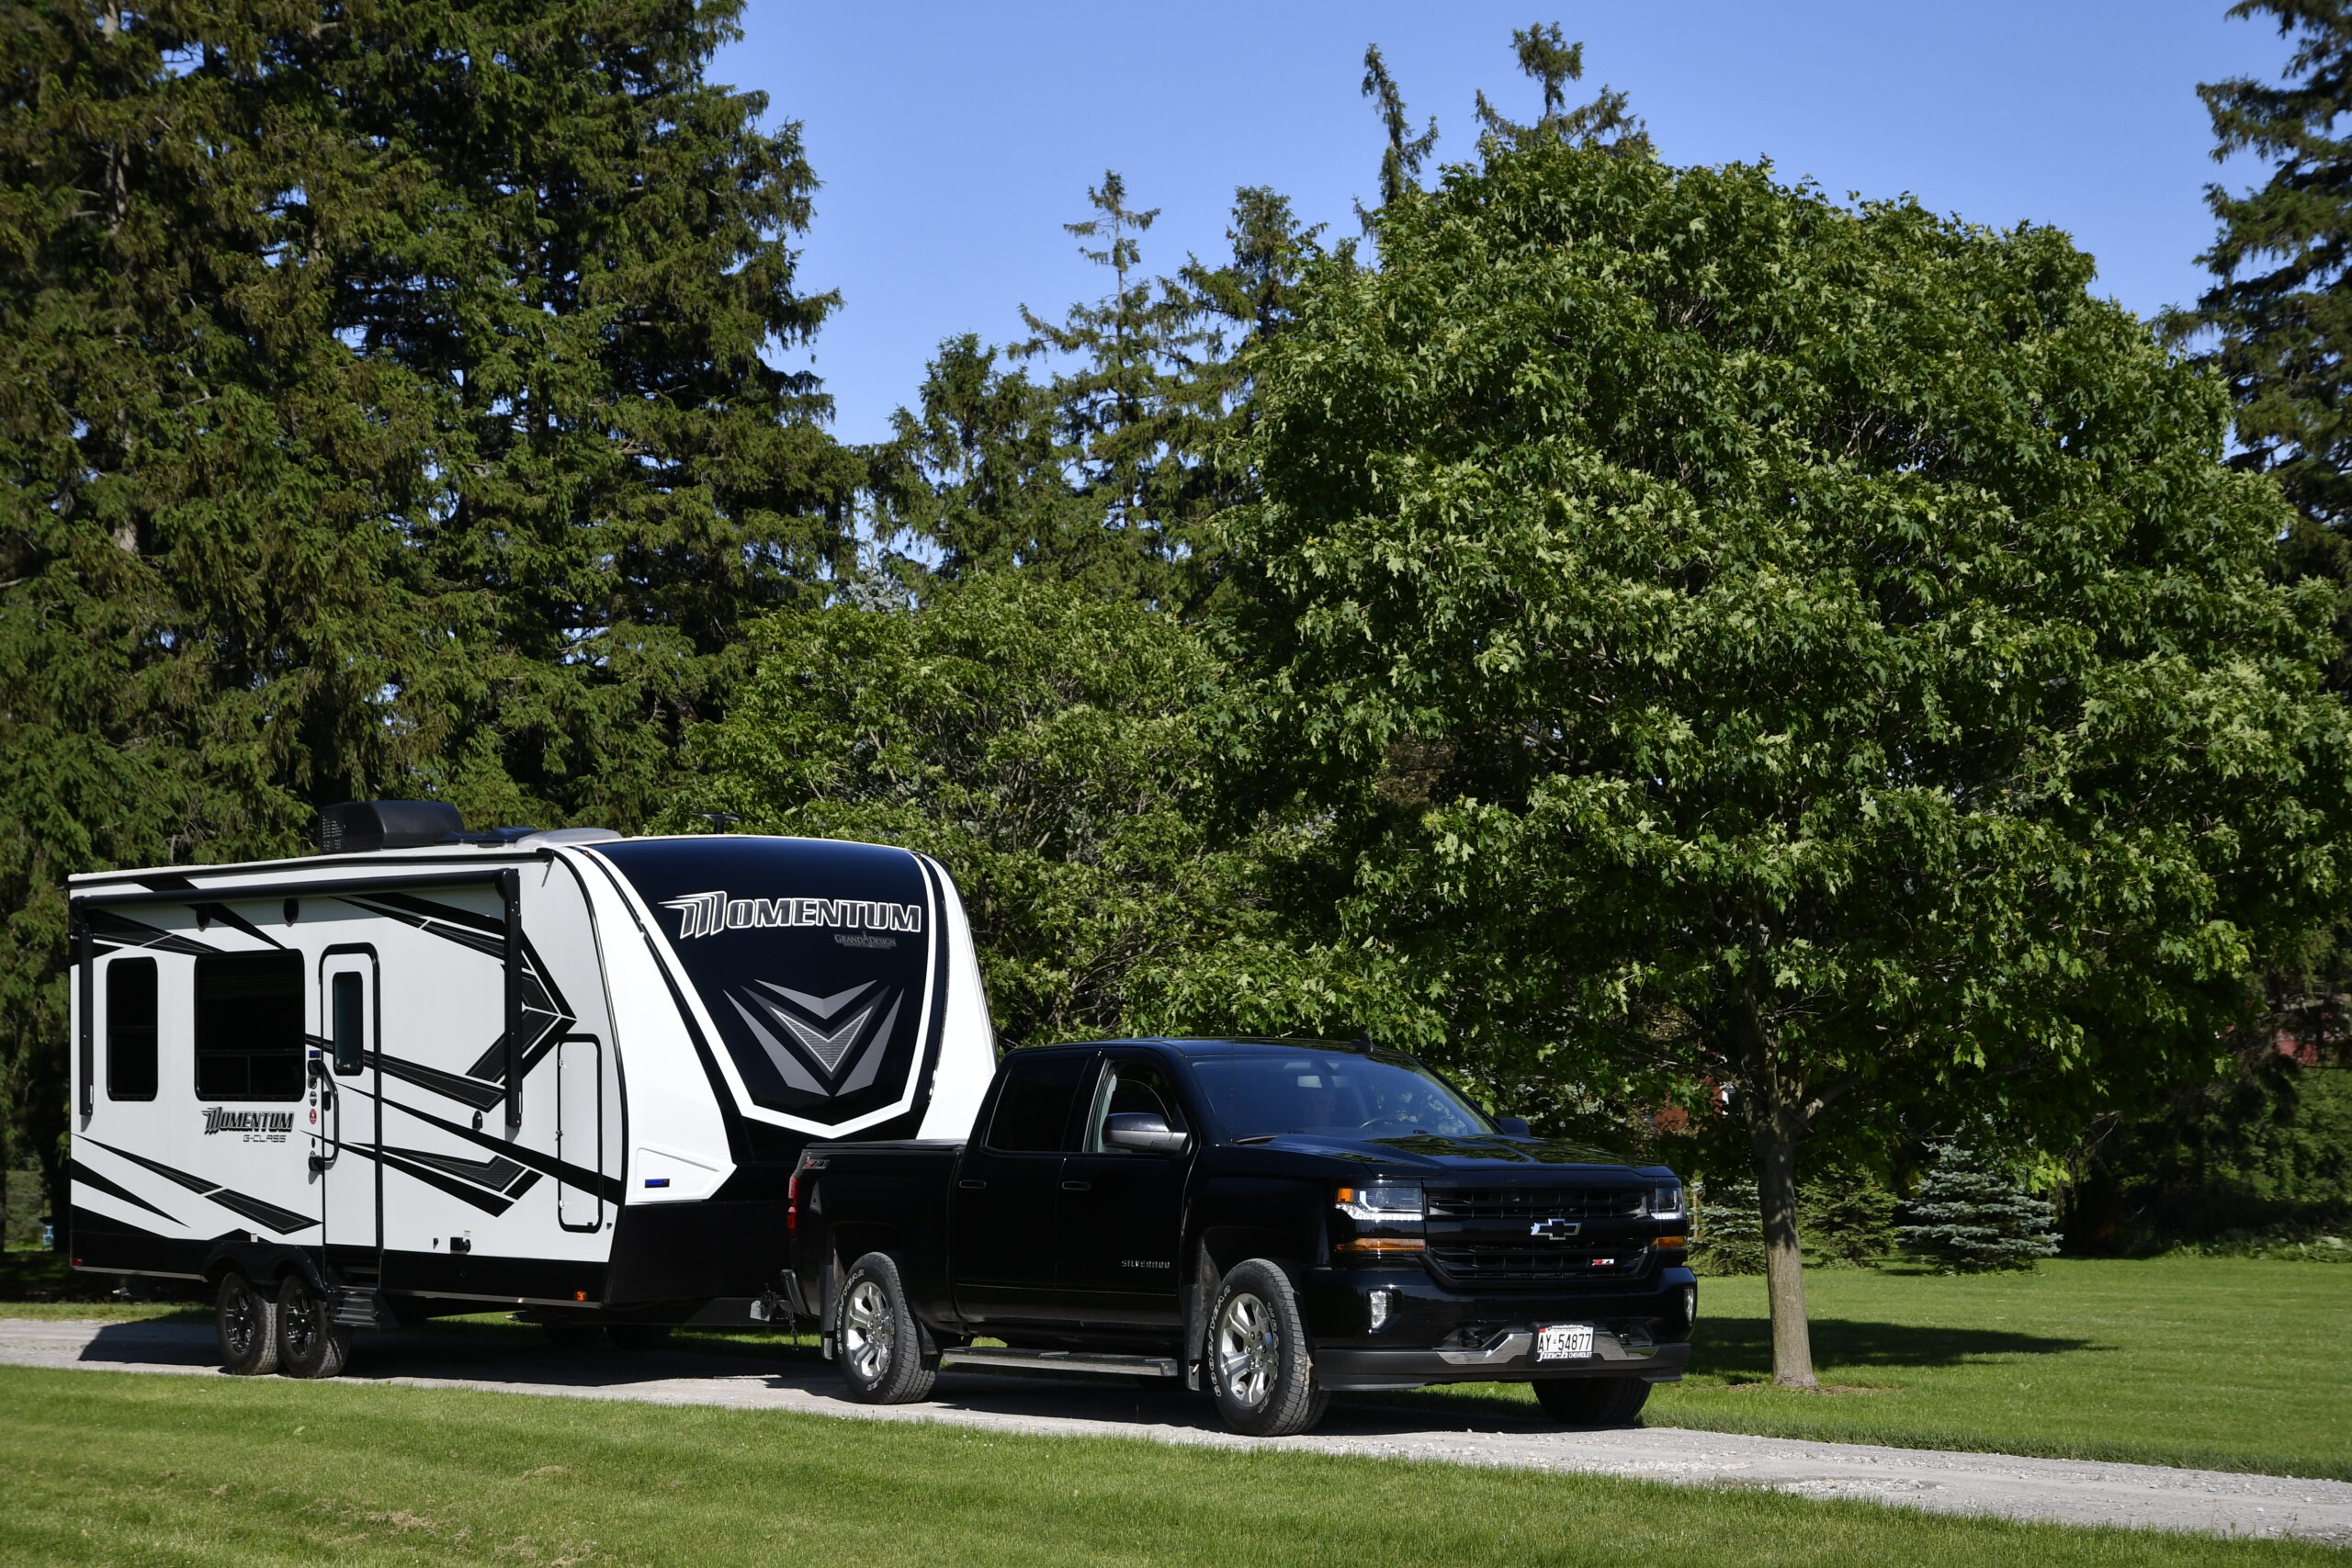
After your RV has been sitting in storage for the winter, it is time break out the cleaning tools and start scrubbing the winter’s grime off the RV exterior. Use a mild car wash soap, not a dishwashing liquid.
Clean your windows inside and out with Windex or similar product. The ammonia content will easily clean the greasy film off the inside of the windshield that makes vision difficult on cool mornings or when driving into the sun. You can use this spray cleaner on other smooth glass surfaces and your countertops, stainless steel and enamel surfaces on your stove, and the plastic surface inside your refrigerator.
Ammonia should not be used on wood, on metal finishes that have a protective coating or on windows that have a tinted aftermarket film. The ammonia will slowly eat away any protective finish that has been applied to repel the inevitable storm of shad flies on that first trip to the lake in the spring, so do not use it on the exterior surfaces of the RV.
I often have used a solution of mild soap and baking soda to remove the smells of winter from the plastic surfaces inside the refrigerator. Plastic surfaces often have the ability to absorb odour even when they look clean to the eye.
Clean your tires with a mild soap and water, forget about using any cleaner that has petroleum distillates – don’t forget to use a narrow brush to get at the inner surfaces and between the dual wheels on a motorhome that get coated with acidic road grime that will eat away at the tire’s surface.
A Clean Galley is a Cook’s Delight
Even though you might not have used the oven in your RV for several months, it is a good idea to prepare it for your trip. Clean the inside surfaces and light the burner to be sure that it will work when you need it. Many RV’ers only use the oven as a storage place for their microwave compatible dishes.
When you load your RV with food, be sure to place heavy items in lower cabinets. Before loading the refrigerator, turn it on a day ahead of your trip so that it can work to bring the temperature down. Bring your cold food from the fridge in the house, and when you shop for meat and drinks at the store, always purchase products from the store’s cooler section – not from a display in the middle of the isle.
It is always a challenge to coax the best possible fuel economy from your RV. There are a few things you can do to enhance the RV’s fuel efficiency… the first, and perhaps the most cost effective step, is to make sure your tires are inflated to the correct pressure. The only way to know the correct pressure is to have the RV weighed. Inflation tables are available free from your tire dealer or through company websites like Michelin and Goodyear. You have to inflate the tires to correspond to the load they will carry when the RV is packed and ready for your trip. There is another very good reason to keep a close eye on your tire inflation – Schrader, the tire valve manufacturer, tested the effect on tire wear when tires are under or over-inflated, and found that in addition to the uneven tire wear that comes from improper inflation, a variance in tire pressure of just a few pounds per square inch between tires on the same axle could increase tire wear by as much as 25%.
Tire inflation also drastically alters the handling characteristics of your rig. Under-inflation tends to cause the motorhome or trailer to lose traction and feel less “confident” especially on curves in the road. Over-inflation can cause the tires to “bounce” over road surface irregularities, resulting in a jarring ride and uneven tire wear.
Steady Speeds Are Best
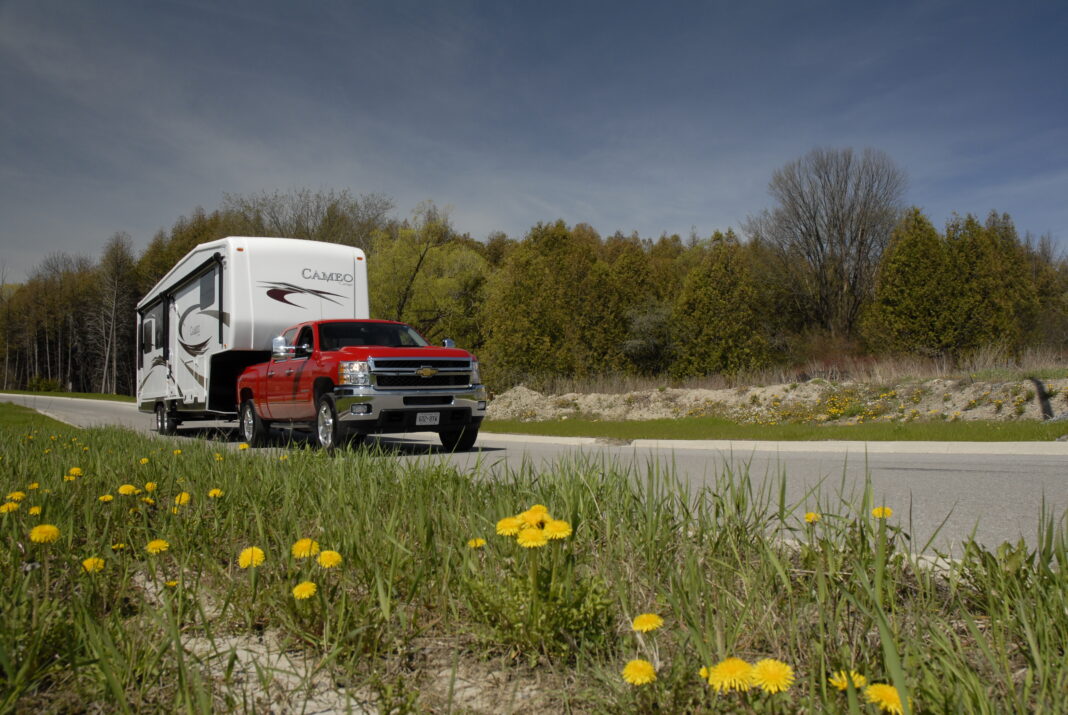
A good highway touring speed for an RV of any type is 55mph or 90 km. Don’t expect to get the same fuel efficiency as your car. For every five mph increase in speed you loose 1 mpg. For example, when you drive at 55mph most RV’ers can expect to get about 10 miles per gallon with the average travel trailer and tow vehicle combination. If you drive at 75 mph your mileage will drop to 6mpg. That can be an additional cost of 40% extra for fuel on your trip. It certainly adds up on a cross-country adventure. Speeds above the posted limit on any road can also pose safety concerns – your RV is not a sports car – it is not engineered to handle evasive manoeuvers at high speeds, and the added weight will increase braking distances compared to driving a car or driving your tow vehicle without the trailer attached.
Plan Your Trip
When you are planning a holiday, spend some extra time researching the routes you plan to follow. Plan to travel a few hours, then break for a meal and perhaps some entertainment. Then hit the road again to arrive at your evening destination. It is usually a good idea to avoid long days of continuous driving, especially when you have a vehicle filled with youngsters, or older passengers who need a chance to stretch their legs every few hours.
We always try to plan a route around the places with scenic attractions or special events that the family will enjoy. Search the websites for the government tourist agencies to find out what attractions are worth seeing, and buy a large map book that will show the natural tourist locations. If you have a GPS mapping program it will allow you to make decisions in advance about which roads are best for your type of RV. Do not drive every day, spend time in each area to allow you to participate at your leisure- remember that this is a holiday – not a race to see how many attractions that your can see in a day. If fuel costs are a concern, plan shorter trips and include more attractions.
Don’t Miss the Forest for the Trees…
Many RV families plan their routes along the major highways, and spend much of their time watching the 18-wheelers that surround them all the way to their destination. We often take the secondary roads that wind through the small towns and follow the routes that people travelled before the interstate highways were constructed. By choosing this alternative to the long straight stretches of heavy traffic we are able to relax and enjoy the scenery, often avoiding the traffic jams and tolls that take all the fun out of driving. We also carry an atlas that has topographic maps of the area – there are times when your route may look simple enough, but it can include steep climbs and long descents that add to the wear and tear on your engine, transmission, and brakes. By choosing a route that winds through the valleys rather than climbing the mountains, you can ease the wear on the vehicle, and reduce the stress on the driver. This is how we discover the myriad of quaint little towns and local attractions that so many modern tourists miss as they dash down the highway toward the next traffic jam. Think of every secondary road as a local version of the legendary “Route 66”, where every town has a story to tell, and every village welcomes you with open arms.
Here’s a link to our RV Road Test Team’s Pre-Trip Checklist – you can open this article on a tablet or smartphone, and “check” the boxes – then take a screenshot and send the image to family members so they can see what they have to prepare before you embark on another RV adventure… or send them the link so they can plan their next trip!
The “checks” will disappear when you close the page, so you can use a fresh checklist throughout the camping season.
If you have access to a printer, you could fill in whatever items you already have packed, then type CTRL+P to print the checklist, and fill in the rest of the items by hand.


