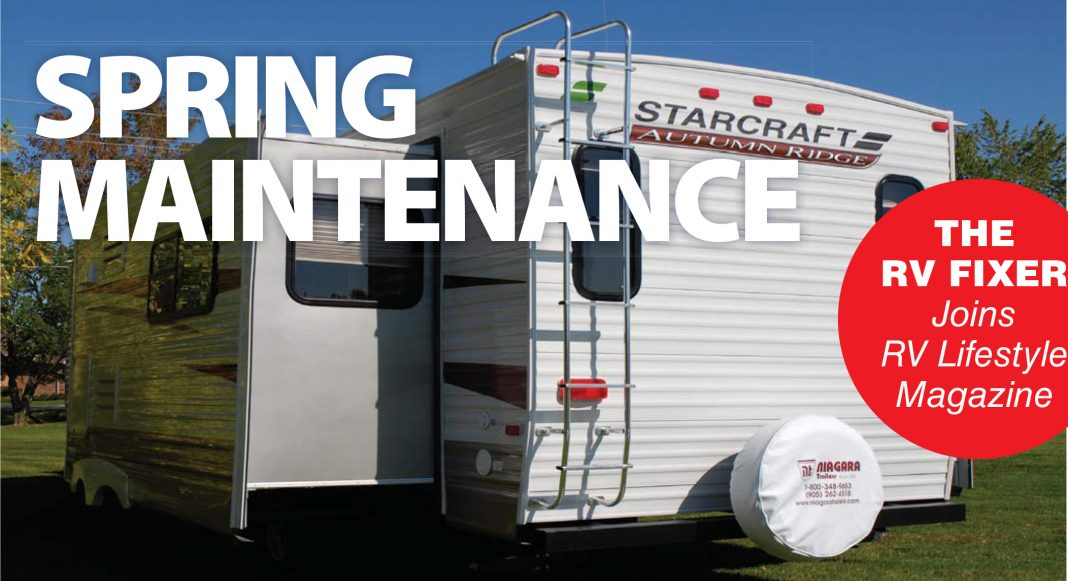
Camping season is here and it’s the perfect time to take a look at some of the basic “do it yourself” tips that will keep your RV looking great all season long.
Spring is always a good time to check the seals all around your slide-out sections – don’t forget to check up top to be sure there are no leaves or miscellaneous debris that can cause leaks.
Take A Tip from the Pros…
Start your seasonal fix-up with a walk-around visual inspection of the outside of the unit. This should include all of the exterior trim, baggage doors, entry doors, clearance lights, plus any other possible places where rain may leak into the vehicle. You should pay particular attention to the exterior caulking for signs of cracking, peeling, exposed screw heads, and so on.
If you find a flaw, the proper repair procedure would be to remove the existing caulking or silicone and clean the surface before applying new product. If caulking or silicone is required, ensure that you use the correct caulking for the right material. For example, EPDM rubber roof material should be maintained using Di-cor lap sealant – this is made for use with the rubber roof. There are other products made specifically for exterior caulking of aluminum and fiberglass components. A full range of these products are available at all RV dealer locations and they are the only products that should be used for RV maintenance.
Roof Repairs
Check a rubber roof for cracking or flaws in caulking around vents, stacks, awning rails, etc. If a problem is found, clean the roof the best you can, using the tool of your choice. We use a plastic body filler knife. Once the damaged area has been cleaned up, apply the proper caulking for the roof material. When you are satisfied that there are no other problem areas or cracks, the exterior of your unit is ready to be cleaned.
Spring Cleaning
Begin with the roof. Do not EVER use a pressure washer on a roof! Use only products for cleaning the roof that are recognized for that job – for example, rubber roof cleaner not dish soap. Products that are not compatible with the roof material will damage the integrity of the roofing product. Rinse the roof, use cleaner, agitate and rinse off, doing a small section at a time.
Always wear proper footwear and be conscious of where you stand on the roof. This job can also be done from a ladder on the side.
Next, wash the side walls using the right cleaning product for the application. Most RV dealers carry proper cleaners for fiberglass and aluminum siding. Only those products should be used to clean and protect the exterior walls of your unit.
Power Up!
If you have disconnected the RV battery for winter storage, now is the time to prepare the battery to be reinstalled on your RV. The battery should be charged before being installed. Note: the wire colours for positive (+) and negative (-) can be any combination. If you are not sure which are positive and negative, then DON’T continue – consult an expert!
Time for a Lube Job
Use a lubricant on all pinch points (i.e.: tongue jacks, scissor jacks, baggage door hinges, baggage door locks, en-trance door locks, entrance door dead-bolt lock, or any other hinge point.) This would be a good time to lube your slide-out mechanisms. There are beam style slides and cable style slides. Ensure that you use the product available at your RV dealer that is specific to those types of slide-outs. DO NOT use products with a petroleum base, as it will retain road dirt and grime which will create problems on the bushings of the slides.
Also, the slide-out sweeps should be reviewed. There is a spray-on product to keep the sweeps pliable, which will eliminate slide-out chatter and speed up a slow in/out movement. Again, these products are available at most RV dealer shops only.
Not using the correct product for the job will create future problems. Do this lubrication process twice a year (spring and fall).
Water System Checks
Next let’s check the water system. Hook up the water supply to the unit. Leave the bypass on the hot water tank in the STORE position while flushing out the hot and cold water lines. Do one tap at a time (cold kitchen sink, cold bathroom sink, cold shower, toilet, and then hot kitchen sink, hot bathroom sink, hot shower). If you have an outside shower do the hot and cold flush at the same time.
Return the by-pass to the Run/Use position. The easiest way to remember how to position the bypass valves would be the opposite of how you find them. For example, if the valve is closed, open it and if it is open, close it.
I recommend that you fill up and flush the hot water tank. By that I mean open up a hot tap and let water run or remove the plug and let it drain. Note: if you have a Suburban water tank with an anode rod, now is the time to change it.
The water system should now be free of antifreeze and ready for use.
LP Gas System
Next, move on to the propane system. Ensure that you have filled the propane tanks. Connect the pigtail propane hose to the propane tank. Use a soap and water mixture to check for leaks on all propane connections and fittings, tank regulator connections and supply hose connections. DO NOT USE a flame to do a propane leak test!
Inside the RV, check the interior components of the propane system. Light one burner on the stove. The stove is the highest point in the RV that uses propane, and it has the largest orifice in which to move the propane. Once you have flame on one burner, light the remaining burners. If you have a three-burner range, turn two burners off, leaving one running.
With the stove still lit, turn on the furnace and watch the burner on the stove to ensure that the flame decreases in size. This means that the furnace is running and the regulator is at the proper operating pressure. If you are unsure or not comfortable doing the initial light up of your propane system, I strongly recommend that you take your unit to your RV dealer to have a gas test/leak test done professionally.
If the furnace is running properly, turn it off and then turn off the stove. Then, light the water heater and the fridge, one at a time. Watch the flame for colour when you turn on the appliance. If flame on any appliance is yellow, it requires service. All flames should be a crisp blue in colour.
Time for Fresh Air
The air conditioner filter located in the ceiling assembly of the RV should be cleaned. Rinse and clean it with just soap and water, then let it air dry and replace it in the ceiling assembly.
If you are not a ‘do it yourselfer,’ most RV dealers offer Spring Opening Packages which include these and other checks to ensure that your RV is ready for a season of trouble-free camping.
Let the camping begin!
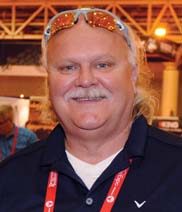 The RV Fixer, a.k.a. Jamie Russell, owner of JR’s Mobile RV Service, located at Rideau Acres Campground in Kingston, Ontario. Jamie has been one of Canada’s best-known RV technicians since the ‘90s.
Jamie was the instructor for the RV Apprenticeship program. Jamie helped to create the apprenticeship program, and he continues to participate as a member of the Education Committee for ORVDA (Ontario RV Dealers Association). As a certified R and Propane Technician, Jamie serves as a member of the CSA Board.
Jamie’s column will be tech-based, focusing on how to maintain and make repairs to your RV. Readers are invited to send questions to Jamie at rvfixerrvlifemag@gmail.com


