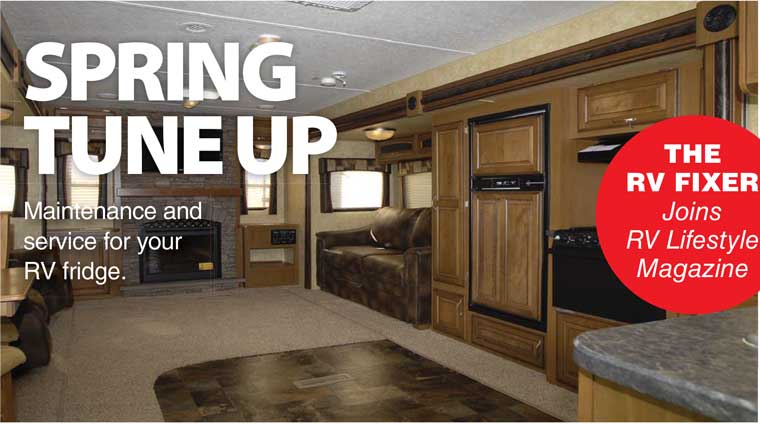
Maintenance and service for your RV fridge.
The RV refrigerator is an appliance that can be maintained to a certain degree by the RV owner. Aside from the LP gas components, which should ONLY be adjusted by a certified RV technician, you can check several key areas to keep your fridge running at peak efficiency.
Many people are not aware of the differences between an RV two-way fridge and a household fridge. The household fridge only runs on 120v AC power whereas an RV two-way fridge will run on both 120v AC power and LP (propane) gas.
Before initial startup in the Spring, here are four things you can do to ensure successful startup of your fridge:
- VENTING (INCLUDING FANS)
Check the venting on the roof (or if the fridge is in a slide out, check the vent on the outside wall). Look for signs of bird nests, squirrels, mice or any other critters that could have built a nest. Also look for frayed or chewed wires. Remove any debris and thoroughly clean by hand or with a shop vac. - RETURN AIR (FRESH AIR)
Ensure that the bottom sidewall vent (located on the back side of the fridge) is free of screens, plastic wrap, duct tape and any other material that would restrict air getting to the burner for the propane operation of the fridge. - VOLTAGE – AC DC
You must have a battery installed and hooked up properly and/or the RV plugged in to confirm voltage. Check 120v AC power where the cord from the fridge is plugged into the RV. En-sure that there is 120v at the receptacle by means of a VOM (Volt Ohm Me-ter). You must use a VOM to get accu-rate readings. Ensure that you have 12v DC power going to the terminal blocks and/or circuit board. To get accurate readings, do NOT use a 12v test light. - LP GAS PRESSURE
Turn on your propane and use a leak solution to check all propane fittings at the back of the fridge and at the propane bottles. If there is a loose fit-ting, two wrenches should be used to tighten. Clean the burner for propane operation. In some units you must first remove a ¼” screw to access the burn-er. The burner should only be cleaned with a shop vac. DO NOT USE com-pressed air as there is a chance you will dislodge the baffle which affects the operation of the fridge while on propane. The baffle is located above the burner. Note: a small aerosol can of compressed air would be ok. - If any of the items in 1-4 above fail, there are a few things you can check yourself before calling a certified technician:
- Ensure there is gas in the propane bottles.
- Ensure the battery is hooked up correctly (+ to + and – to -) and the in-line fuse is good.
- Ensure there is 120v power to the source where the unit is plugged in.
Now you can turn your fridge on to the Auto Mode. Some fridges will show you an “A” and others will have a slider switch that will select “Auto’. If you see no error codes, the fridge will be working on 120v AC as it will be its first choice for a source of heat. An initial startup of an RV two-way fridge will take approximately two to four hours to come to temperature on one source (ie. 120v AC and/or LP gas).
After confirming that the 120v source has brought the fridge to the desired temperature, switch the fridge to Manual and select the LP Gas set-ting. You may have to leave the fridge door open to allow the temperature to rise before the LP will ignite. You should have a good crisp blue flame to the burner on the back right side of the fridge.
COOLING UNIT INSPECTION
If you detect an odour of ammonia or see a greenish yellow substance on the pipes on the back of your fridge, chances are strong that you have a cooling unit problem.
CIRCUIT BOARD
It is strongly recommended that you NOT remove the circuit board cover. This should be left to a certified technician to troubleshoot as the components are very expensive to replace. If you have tried everything above and your fridge is not working properly, it is likely time to call your certified technician.
Safety Tips:
- Prior to doing any of the above, make sure there are no flammable products in close proximity.
- Ensure if you are using a ladder to get on the roof that you have someone there to steady your ladder.
- If a repair is required ensure that the proper materials are used (ie. Caulking, leak solutions, screws, etc.)
I hope this helps you get your fridge ready for the season. If you have any questions, please don’t hesitate to contact me by email at rvfixer.rvlifemag@gmail.com
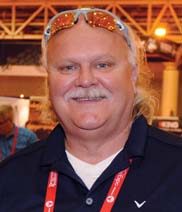 In this issue or RV Lifestyle Magazine we welcome a new columnist – The RV Fixer, a.k.a. Jamie Russell, owner of JR’s Mobile RV Service, located at Rideau Acres Campground in Kingston, Ontario. Jamie has been one of Canada’s best-known RV techni-cians since the ‘90s, and he brings a wealth of expertise to the magazine.
Jamie was the instructor for the RV Apprenticeship program from 2003-2009, and he has been involved in training for many years. Jamie helped to create the apprentice-ship program in 1998, and he continues to participate as a member of the Education Committee for ORVDA (Ontario RV Dealers Association). As a certified RV and Propan Technician, Jamie serves as a member of the CSA Board responsible for updating code for the RV industry.
Jamie’s column will be tech-based, focusing on how to maintain and make repairs to your RV. Readers are invited to send questions to Jamie at rvfixerrvlifemag@gmail.com


