


We took advantage of the holiday season to explore the RV destinations west of the Rockies
In early December I had a meeting to attend in Phoenix, so we left a couple of weeks early and spent some time on the California coast. We stayed a week in Malibu at a great park right across the Pacific Coast Highway from the beach. We then spent a few hours driving along all the coastal roads through Los Angeles to Crystal Cove State Park on the south side of Los Angeles. We had planned to visit several museums and other attractions in Los Angeles but most days found us just walking on the beaches. Crystal Cove is a great park with simply gorgeous views over the Pacific with miles of beach. It has no hook-ups. When we told others we were heading there I was surprised how many could not believe we would spend six nights dry camping as though it was some massive hardship. So I thought I would list a few tips I have learned about dry camping over the last 50 years of traveling. Most of these were handed down to me so I can’t really take any credit for them and I am sure there are many others. For dry camping you need power, water and a way to empty the waste tanks.
POWER:
a) When dry camping with most RVs you will not have 110 power. The Airstream is equipped with a small inverter that can run the TVs or a laptop. However the inverter uses a lot of battery power so you want to be careful how much you operate it.
b) Unless you bother with a generator you won’t have air conditioning. There is a dramatic difference in how well different RVs stay cool. Look for as much ventilation as possible on all walls if possible. Window awnings are great for keeping the heat out as well.
c) If you do a lot of dry camping in open areas you cannot beat having a solar panel. We would have easily gone all week with an 80 watt panel without charging the batteries.
d) Two batteries are more than twice as good as one when dry camping, besides doubling your capacity you can also recharge much faster.
e) The Airstream has LED lights, these have a fraction of the power drain of the old bulbs so you can actually be a little reckless with your lighting. They are still a little pricey so if you have an older unit just change the bulbs you use frequently.
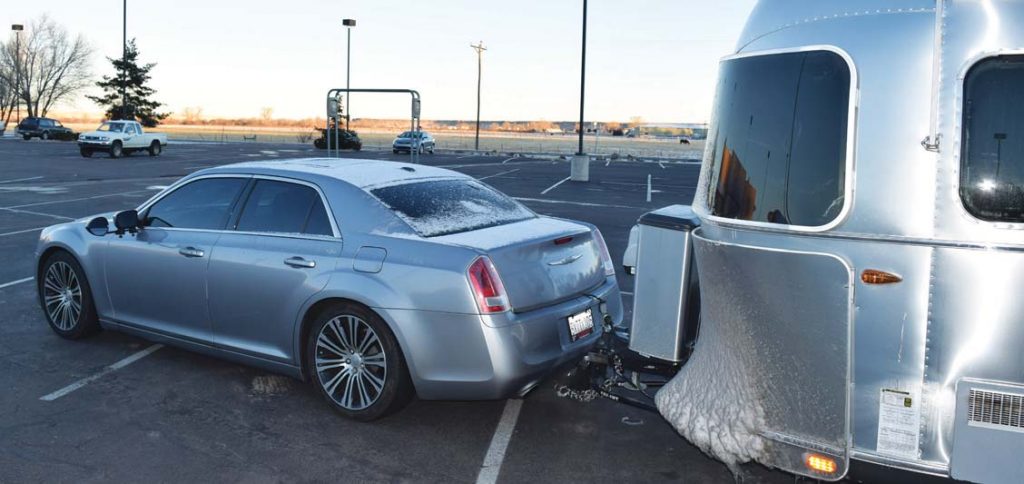
f) Recharging the batteries when you don’t have solar panels or a generator needs to be done with your tow vehicle. I don’t see a problem with that as the car is quieter than a generator and you don’t have to carry anything extra around with you. You can plug the car into the trail-er to charge the batteries but this is a very slow process and on many vehicles today the charge line does not operate without running the car engine.
g) Once your trailer battery is down to around 11 volts you need to recharge. The best way to charge the trailer batteries is to hook the car up to the trail-er with some jumper cables. This will charge much faster than the built in charge line and it can charge with the engine turned off.
STEP 1: Connect the cables negative to negative – positive to positive. Actually look for the symbols on the batteries as some trailers use a black wire for positive which is the negative on the car so don’t just match wire colors.
STEP 2: You would think you would start the car right away but these days the cars alternator can produce more power than the batteries can accept. Let the batteries equalize for 10-15 minutes. The car will start as the battery voltage won’t drop below the 11 volts you began with.
STEP 3: Start the car and let it idle for 15 minutes. This will bring the car battery up to about 80% and continue to charge the trailer batteries.
STEP 4: Turn the car off but leave the cables connected for 15 minutes or so. If you are only on the site for one more day this is likely enough power. If you are planning to be there for a few more days run the above cycle a couple of more times. After three cycles the batteries should be in the high 12’s which will take care of them for a couple of days of normal use.
 To give you an idea I kept notes on what I did for the six nights in Crystal Cove. We ran the inverter about one hour each day, but the largest drain was running the furnace as night temperatures were dropping to 50 degrees. Some rugged souls don’t mind camping in the cold but our trailer does not drop below 70 degrees. During a Canadian summer you don’t need a lot of lights because the days are long but in the south in the winter days are not much longer than here so if you spend the evening in the trailer you need lights from 5:00 pm to whenever you hit the hay.
We arrived on a Sunday with fully charged batteries.
They ran without needing a charge until Wednesday morning when the volt-age was down to 10.9. I cycled the car three times and then let it sit connected for a couple of hours while we went to the beach that morning and they were at 13.3 afterwards.
Friday evening we were down to 11.3 which likely would have run us through the night but I gave it one more 15 minute charge cycle which brought it up to 11.9. The next morning we were back down to 10.8 but were pulling out anyway so not a problem.
FRESH WATER:
I am not a big fan of public showers and there is no way Heather is going to be caught in one so we use the shower in the trailer. You want to be sure you have a showerhead with a shut off so you can be easy on water. We had a shower every day we were there and washed dishes. We have done a lot of dry camping and are pretty good at saving water but we don’t get crazy about it. It’s amazing how little you use when you need to carry it.
For water I carry a couple of collapsible five gallon jerry cans which take up very little space. At this park there were a few taps spread around so I only had to carry the water about 200 feet. I have been in parks where the only water is at the main office area so in those I drive up and carry the water back in the trunk of the car.
We arrived with a full tank, and the Airstream has a relatively large 54 gallon tank. I added 30 Gallons on Wednesday which easily lasted us until we left.
BLACK WATER:
There are two ways to empty tanks, one is to tow the trailer up to the dump station and the other is to use a portable tank that you can transfer into. The downside to the portable tanks is their size. You sure don’t want to store it inside the trailer. I have seen them strapped to ladders, tied behind the LP tanks and tied to bumpers etc. Not the nicest looking accessory on your RV. We have on occasion made a frame-work that carries one under the trailer between the frame rails, if I did a lot of dry camping that is what I would do. For me it was just as simple to drop the trailer on the car and take it up to the dump station, which I did on Wednesday morning while Heather was getting some work done.
GREY WATER:
Over the 50 years I have been around RV’s one of the more controversial topics has been what to do with grey water. Before 1974 most trailers only had a black water tank, the grey water drained directly into the sewer hose if you were hooked up or onto the ground if you were not. Most people carried a small shovel so they could dig a little opening in the ground, then they drained using a cut off garden hose. This eliminates surface water.
Then in the early 70’s it was decided that this was wrong and grey water should not be drained onto the ground, but of course many people continued to do so. As time went by grey tanks became larger and few people drained grey water. However now in the Southwestern states they are having a drought and it turns out that a couple of million California homes and many large facilities recycle their grey water for irrigation. There is now some actual research being done on how to safely use grey water. For example it should not be drained where it will not soak into the soil (hence the small shovel), it should not be drained out of growing season and never where it can run into fresh water. It turns out maybe our parents or grandparents weren’t wrong after all.
One of the neighbours in the park asked me what I was doing with my grey water and said I would drain it at the dump-station when I emptied the black tank. He mentioned that the shrubs around our campsite could likely use it more, considering how dry the plants looked it likely was not a bad idea. I asked him what the park rangers would say and he said that officially they say not to but unofficially they hope you will help. So I borrowed his hose and shovel and drained the water into the ground adjacent to a few of the shrubs. Perhaps they were looking a little healthier by the time I left. I only drained about 40 gallons over the six days so not a great deal. That soil was so dry it was instantly absorbed and likely did do some good. I don’t think I would do the same thing if I was next to a lake in an already damp area and I think you would want to know what the local rules are. However maybe in time we will have some actual guidelines on how to make positive use of grey water.
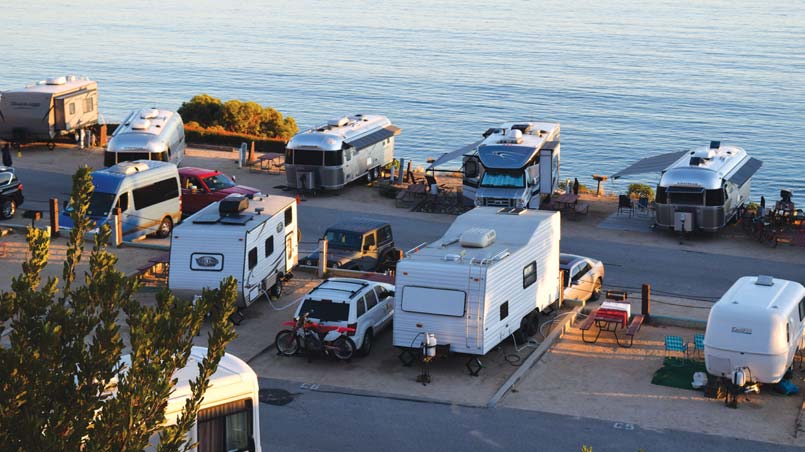
So dry camping is not that tough or uncomfortable and it only takes a little time. Parks that don’t have hookups are often in some incredible settings. It also gives you more flexibility when you travel not having to worry whether you will have hookups.


